


In this post you will learn how to implement a Contextual Action Bar (CAB) which will be useful to do actions on multiple items you have selected in a RecyclerView.
The Contextual Action Mode represents a contextual mode of the user interface and focuses user interaction toward performing contextual actions. In the case of a RecyclerView which shows a list of item, Contextual Action Mode is triggered after a long press on one of this items: this causes the Contextual Action Bar to appear at the top of the screen so then the user can interact with its actions.
Let’s follow these steps!
Initial setup
First of all, create a RecyclerView and its adapter in the usual way you do it. Here in this example I will use a RecyclerView which shows Authentication items (it is a class I made for a project, it doesn’t matter for the purpose of the example, use whatever you want, and change the names accordingly).
Theme changes
Open your styles.xml file and add the following lines:
<!-- It should be true otherwise action mode will not overlay toolbar --><item name="windowActionModeOverlay">true</item><!-- For Custom Action Mode Background Color/Drawable --><item name="actionModeBackground">@color/colorAccent</item>
Comments should be self-explanatory.
Menu file
We need a menu file which contains the available actions for that RecyclerView. Let’s create a file into the res/menu directory like the following:
<?xml version="1.0" encoding="utf-8"?><menuxmlns:android="http://schemas.android.com/apk/res/android"xmlns:app="http://schemas.android.com/apk/res-auto"><item android:id="@+id/action_delete" android:icon="@drawable/ic_delete_white_24dp" android:title="@string/action_delete" app:showAsAction="always" /></menu>
We added a delete action that will be shown on the CAB.
Adapter changes
Our adapter we created in the first step needs to be able to keep trace of the elements we select. To do this, let’s modify our adapter and create a new field
private final SparseBooleanArray selectedItemsIds;
and initialize it in our constructor
selectedItemsIds = new SparseBooleanArray();
Now, let’s create an interface which will be useful for all the Adapters which need the CAB, and make our Adapter implements it. Please note this is a generic interface, so adapt it to the model you are displaying in your adapter.
public interface ActionModeAdapterCallbacks<T> {void toggleSelection(int position);void clearSelections();int getSelectedCount();List<T> getSelectedItems();}
This is what the implementation should look like:
@Override public void toggleSelection(final int position) {if (selectedItemsIds.get(position)) {selectedItemsIds.delete(position);} else {selectedItemsIds.put(position, true);}notifyItemChanged(position);}@Override public void clearSelections() {selectedItemsIds.clear();notifyDataSetChanged();}@Override public int getSelectedCount() {return selectedItemsIds.size();}@Override public List < Authentication > getSelectedItems() {final List < Authentication > selectedItemList = new LinkedList < > ();for (int i = 0; i < selectedItemsIds.size(); i++) {selectedItemList.add(authenticationList.get(selectedItemsIds.keyAt(i)));}return selectedItemList;}
Now, we also need the Adapter to change the view state when an item gets selected to show the user a visual feedback. To do this we can use a StateListDrawable and in the onBindViewHolder() method add this line.
holder.itemView.setActivated(selectedItemsIds.get(position));
Create a new xml file inside the res/drawable directory:
<?xml version="1.0" encoding="utf-8"?><selectorxmlns:android="http://schemas.android.com/apk/res/android"><item android:drawable="@color/colorPrimaryDark" android:state_activated="true" /><item android:drawable="@android:color/transparent" /></selector>
and assign it to the root view element of the layout file which represents your adapter’s row item:
android:background="@drawable/statelist_item_background"
Doing so, each time an item is selected or deselected, the adapter will change its color accordingly.
Fragment/Activity changes
Now, we need to make our Fragment/Activity class aware that we can trigger the Contextual Action Mode. To do so, let’s create an interface and call it ActionModeViewCallbacks.
public interface ActionModeViewCallbacks {void onListItemSelect(final int position);void onDestroyActionMode();}
This interface has 2 methods:
- onListItemSelect(final int position): to be used after a long click on an item to trigger the Action Mode (or after a single click on an item, if Action Mode was already triggered, to select this new item, too);
- onDestroyActionMode(): reset actionMode variable to null;
Now, let’s create another interface which extends from this one:
public interface ListAuthenticationActionModeViewCallbacks extends ActionModeViewCallbacks {void onDeleteActionClicked();}
This new interface has another method, onDeleteActionClicked(), which is where the presenter gets called (check MVP if you are not aware what MVP and a Presenter are) and asked to delete the items the user has selected (if you have more than a single action, you need to create more methods, each for any action you have).
This interface must be implemented by the Fragment/Activity which wants to use the Contextual Action Mode. The implementation looks like this:
@Overridepublic void onListItemSelect(final int position) {listAuthenticationAdapter.toggleSelection(position);final boolean hasCheckedItems = listAuthenticationAdapter.getSelectedCount() > 0;if (hasCheckedItems && actionMode == null) {// there are some selected items, start the actionModeactionMode = ((AppCompatActivity) getActivity()).startSupportActionMode(new ListAuthenticationToolbarActionModeCallback(this, this, listAuthenticationAdapter));} else if (!hasCheckedItems && actionMode != null) {// there no selected items, finish the actionModeactionMode.finish();}if (actionMode != null) {//set action mode title on item selectionactionMode.setTitle(getString(R.string.cab_selected, listAuthenticationAdapter.getSelectedCount()));}}@Overridepublic void onDestroyActionMode() {actionMode = null;}@Overridepublic void onDeleteActionClicked() {presenter.delete(listAuthenticationAdapter.getSelectedItems());}
where R.string.cab_selected is
<string name="cab_selected">%1$d selected</string>
In doing startSupportActionMode() we need to pass a ActionMode.Callback item that I haven’t explained yet. Let’s create another class which implements that interface.
public class ListAuthenticationToolbarActionModeCallback implements ActionMode.Callback {private final ActionModeViewCallbacks actionModeViewCallbacks;private final ListAuthenticationAdapter listAuthenticationAdapter;public ListAuthenticationToolbarActionModeCallback(final ActionModeViewCallbacks actionModeViewCallbacks, final ListAuthenticationAdapter listAuthenticationAdapter) {this.actionModeViewCallbacks = actionModeViewCallbacks;this.listAuthenticationAdapter = listAuthenticationAdapter;}@Override public boolean onCreateActionMode(final ActionMode mode, final Menu menu) {mode.getMenuInflater().inflate(R.menu.listauthentication, menu);return true;}@Override public boolean onPrepareActionMode(final ActionMode mode, final Menu menu) {menu.findItem(R.id.action_delete).setShowAsAction(MenuItem.SHOW_AS_ACTION_ALWAYS);return true;}@Override public boolean onActionItemClicked(final ActionMode mode, final MenuItem item) {switch (item.getItemId()) {case R.id.action_delete:actionModeViewCallbacks.onDeleteActionClicked();mode.finish();return true;}return false;}@Override public void onDestroyActionMode(final ActionMode mode) {actionModeViewCallbacks.onDestroyActionMode();listAuthenticationAdapter.clearSelections();}}
Please have a look on the official documentation here to understand how ActionMode.Callback works.
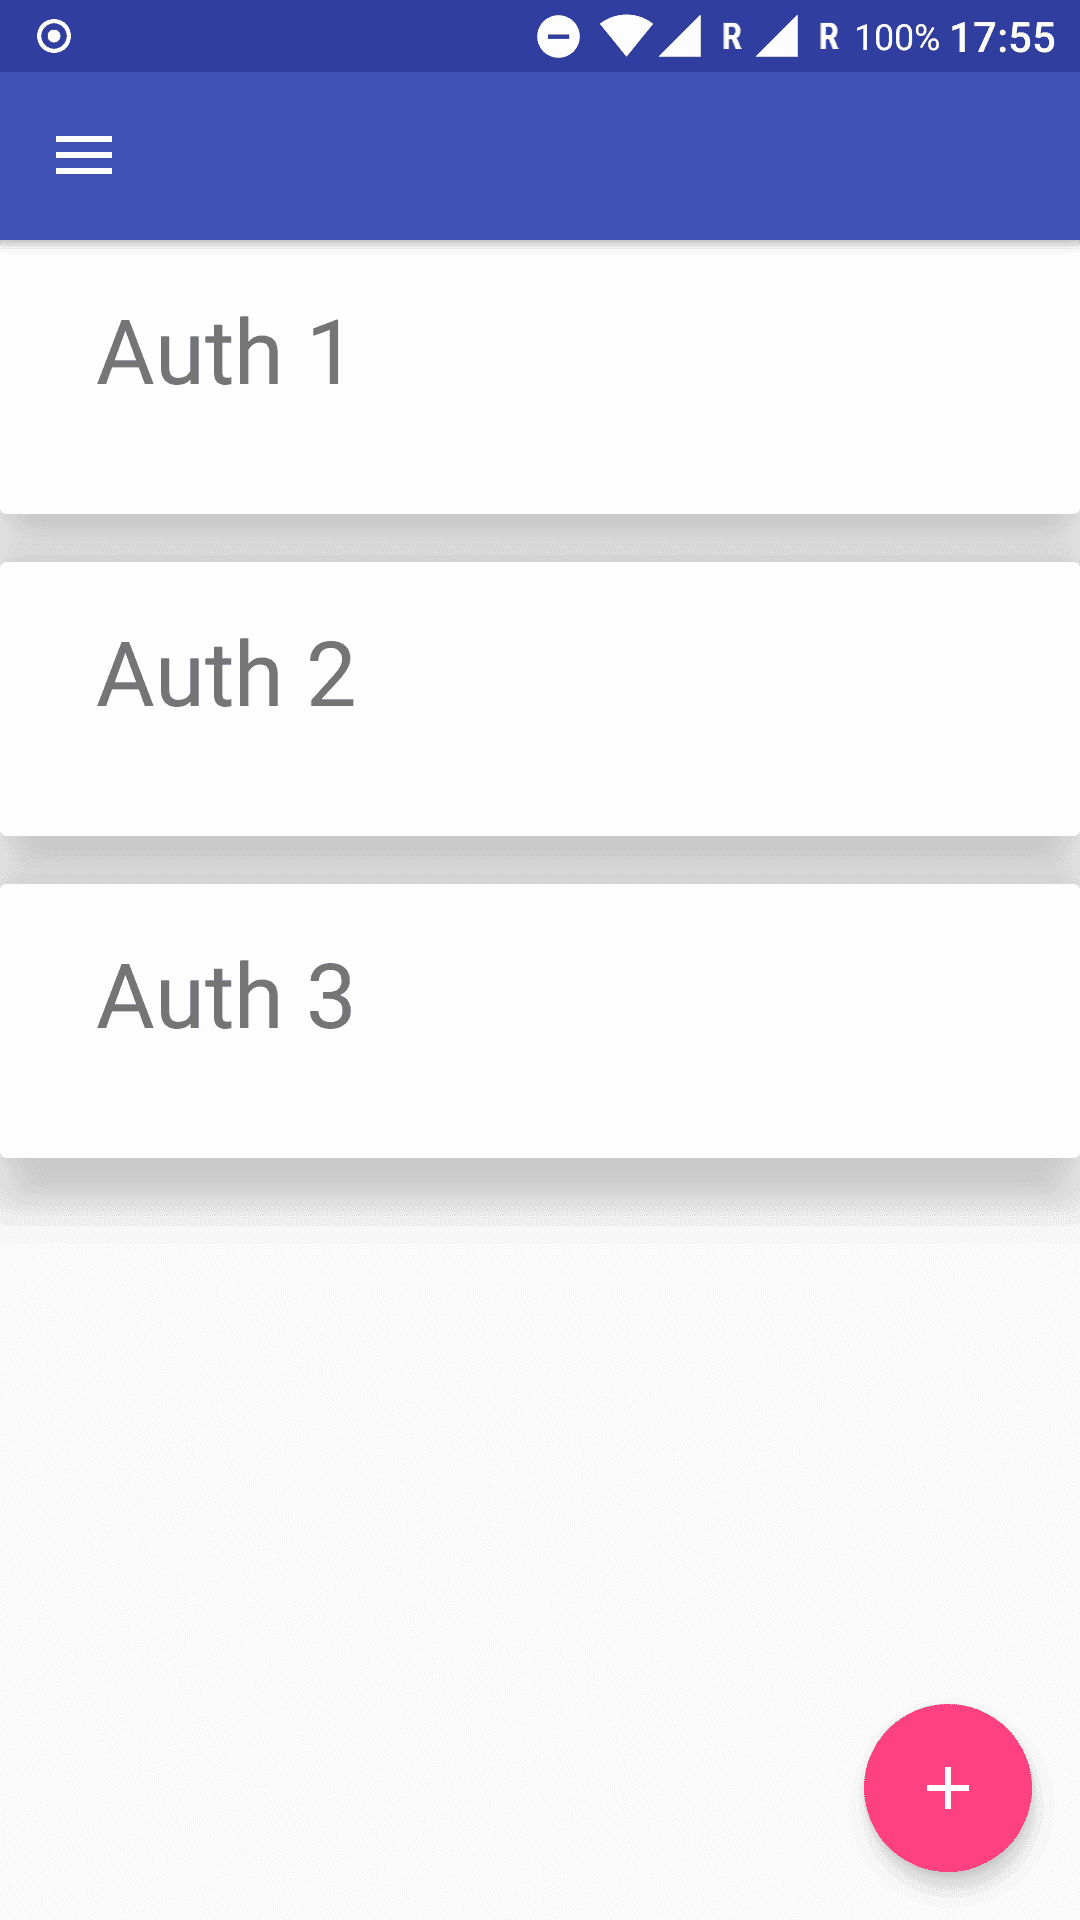
Screenshots
Conclusions
Your Contextual Action Mode should work now! I suggest you to create different menu files, Fragment/ActivityToolbarActionModeCallback and Fragment/ActivityActionModeViewCallbacks to keep everything separated.
Please note: if you rotate the device, Contextual Action Mode is lost, you need to save its state and restore it. Another post will follow, hopefully soon!
Share
Previous Article
Java concurrency explained with a few examplesNext Article
MobaXterm - Enhanced SSH client for Windows
Related Posts


Solve ADB stuck on waiting for debugger
November 06, 2022
1 min

Android image and video picker using ActivityResultContracts in Jetpack Compose
September 13, 2022
1 min

Clear all Android SharedPreferences
December 29, 2020
1 min

Enable the new Android Auto UI
August 25, 2019
1 min